While the engine was just sitting on the stand, waiting for more parts to arrive, it dripped a few drops of oil into the pan underneath. This seemed a bit odd, since I had already drained all the oil out of it. To try to find the source, and make sure it wasn't one of my new additions, I grabbed a pointer and hung it from various points under the engine to track the drip back up to the source. The drip turned out to be coming off the left engine mount bracket, which continued the seeming oddity, since the bracket bolt holes are not through holes.
So, I removed the engine mount brackets and found the source of my leak:

That is a straight-thread steel plug in an aluminum hole. From what I've been told, that's a factory part (smh). Anyway, the plug was a little loose, with only the factory stake holding it in -- it turned right out with almost no effort. FYI, the plug is 22mm with 1.5mm thread, straight thread (no taper), and is about 9mm thick.
I asked for advice on 914World, since I was sure this couldn't be a new problem, and the general consensus was that a straight-threaded steel plug was not really the right part for the application. But, no one makes a direct-replacement aluminum plug. The options came down to either a brass plug or make my own.
@bkrantz linked to his thread where he faced the same issue. He ended up going with a brass plug, but
@Shivers had added a link to a place selling aluminum flange plugs with the right thread. That seemed like a promising path, so I ordered a few (one to use and spares, just in case).
Here's what arrived, next to the original plug:

I cut the head off and the finished result is the same thickness as the original:

I wasn't sure what sealant to use, but someone had suggested Loctite 574, so I ordered a tube. Of course, I only found it in 50ml tubes and larger, so I now have
plenty of extra....
I also ordered a cheap tap, which I cut down to clean the old sealant out of the threads the hole.

I tried a few different solvents and cleaners, but the tap was the only thing that worked to actually clean the threads. Yes, I know I could have removed the fan and ductwork off the front of the engine, but I was trying to minimize the amount of stuff to be removed and reinstalled later.
And, just to help my odds of sealing, I put the new plug in the refrigerator and put a heater on the engine.
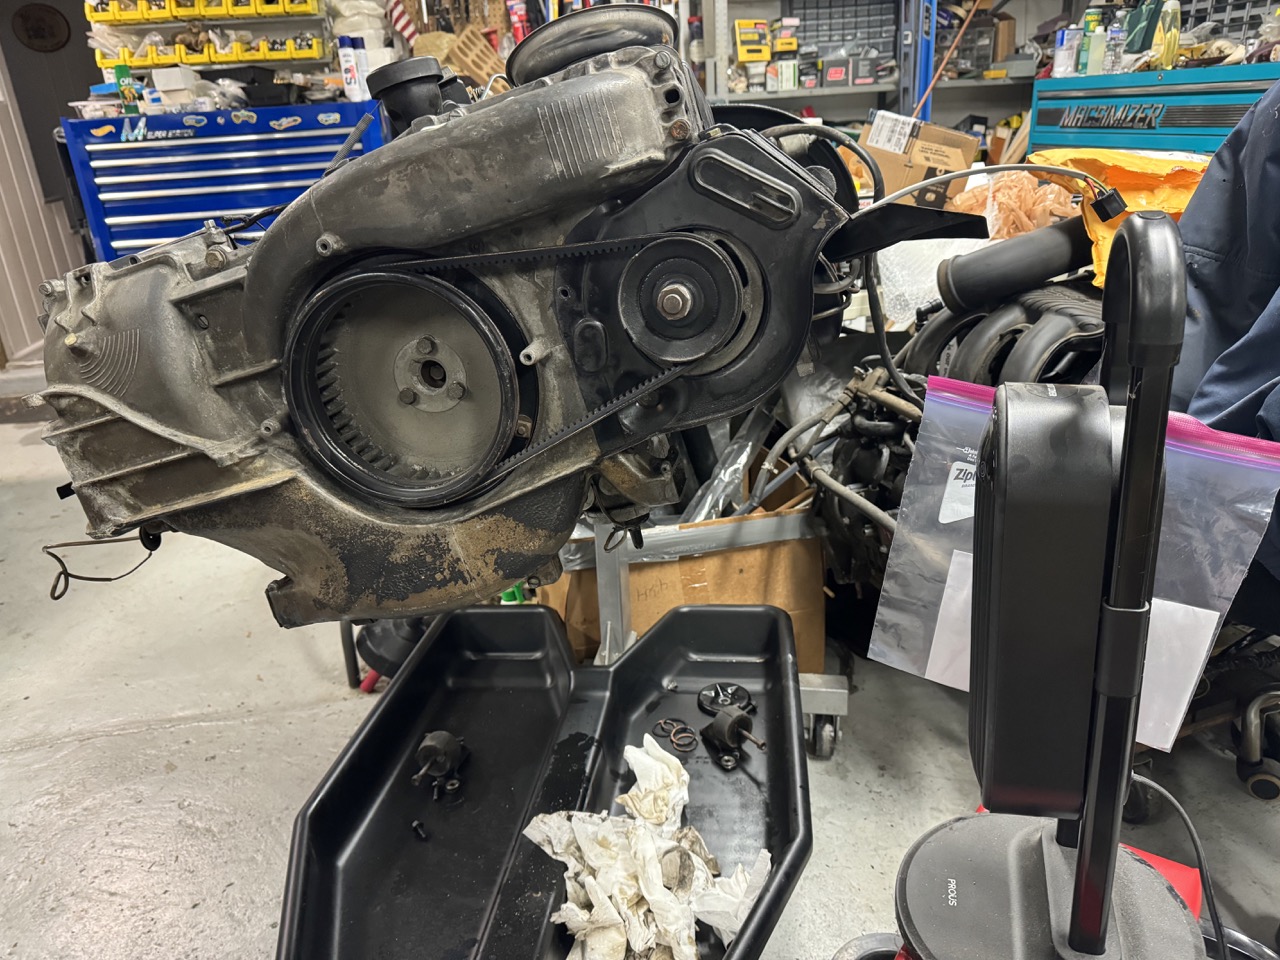
Note that the engine is tilted over. I also put a 2x6 under the front of the engine stand. This positioning helped keep that last little bit of remaining oil that never completely stops dripping from running forward into the threads.
After about 1/2 hour of heating/cooling, I used a q-tip to apply sealant to the hole threads and also applied some to the threads of the plug. I then screwed the plug in as tight as a I could without risking the remaining hex in the plug, so maybe 10-15 ft-lbs or so -- this is tighter than the original plug was, and the sealant should keep it stuck. But, just in case, I also staked the plug, like factory.

Hopefully, that's the end of that leak.